Support me and Save $75 off with code WHISKEY
When Oru kayaks first came out they were gamechangers. At only 30lbs you could fold them up and walk or hike them into previously unkayak-able places. They were easier to store in apartments and possible to transport in cars without a rack. And…they are beautiful! I’ve owned my Beach kayak for over 2 years and have really tested its limits. Recently we added the Bay kayak which is a quicker boat, a bit better for all those ocean trips as well snappy maneuvering for photography.
- Oru Basics
- Beach vs Bay models
- Adding Dogs
- Comparing Oru to other options on the market
- How to Introduce Dogs to a Kayak
- Accessories
- Testing the Beach Oru
- Pros and Cons

The Oru Basics
There are now 5 different models from their tiny Inlet 20lb model easily brought on a bus, to a tandem model capable of carrying a 500lb load. The kayaks are all origami-style foldable made out of a corrugated plastic rated for 20,000 folds and tough enough to easily survive rocks to dog nails. Reportedly smaller things like the neoprene caps, buckles, and rods will wear down before the polypropylene has issues and I feel really confident on the toughness of these boats. They’re made in the USA and range from $899-$2199 and can be used from rugged expeditions to your neighbourhood lake.
I own two versions, the original, the Bay, and the most popular, the Beach. Both are around 28lbs, something I can easily carry with their backpacks (additional accessory) on a flat walk. I’ll concentrate on these two models and my thoughts and experience with them here.


Beach vs Bay Oru
The Bay is 28lbs vs 26lbs for the Beach, not really a significant difference, however keep in mind the Bay is also $300USD more. Packed up they’re around the same size. Construction of the Beach is quicker, the website says 5 vs 10mins which I find to be pretty accurate if you’re not very familiar with the boat.


I’ve got the Beach down to about 3 mins if I don’t have a dog on my back but either way, it’s quick and easy once you practice a couple times. The hardest part of putting the Beach together is the tension rod (tip: put the boat on it’s side) and I do find it a bit more difficult to line up the zipper channels on the Bay. As the boat is used over several trips, the folds become less stiff and it actually does get easier to put the boat together. Disassembly is much more intuitive and quicker (about half the time of set-up). I’d really suggest that you dry the boat and break down away from sand to keep your car clean!


In the water, the Beach is much more wider and open. This means it’s more stable, holds more things and dogs easily accessible, and wetter. In contrast the Bay is much tighter to get in and out, faster on the water, quicker to turn and more nimble, and much better in waves or wind with a dryer experience. Make sure you put together and take apart you kayak at home before you head to the beach. The videos online are very helpful and it can seem complex and the folds very stiff so it was really helpful to at least try once at home with no pressure.

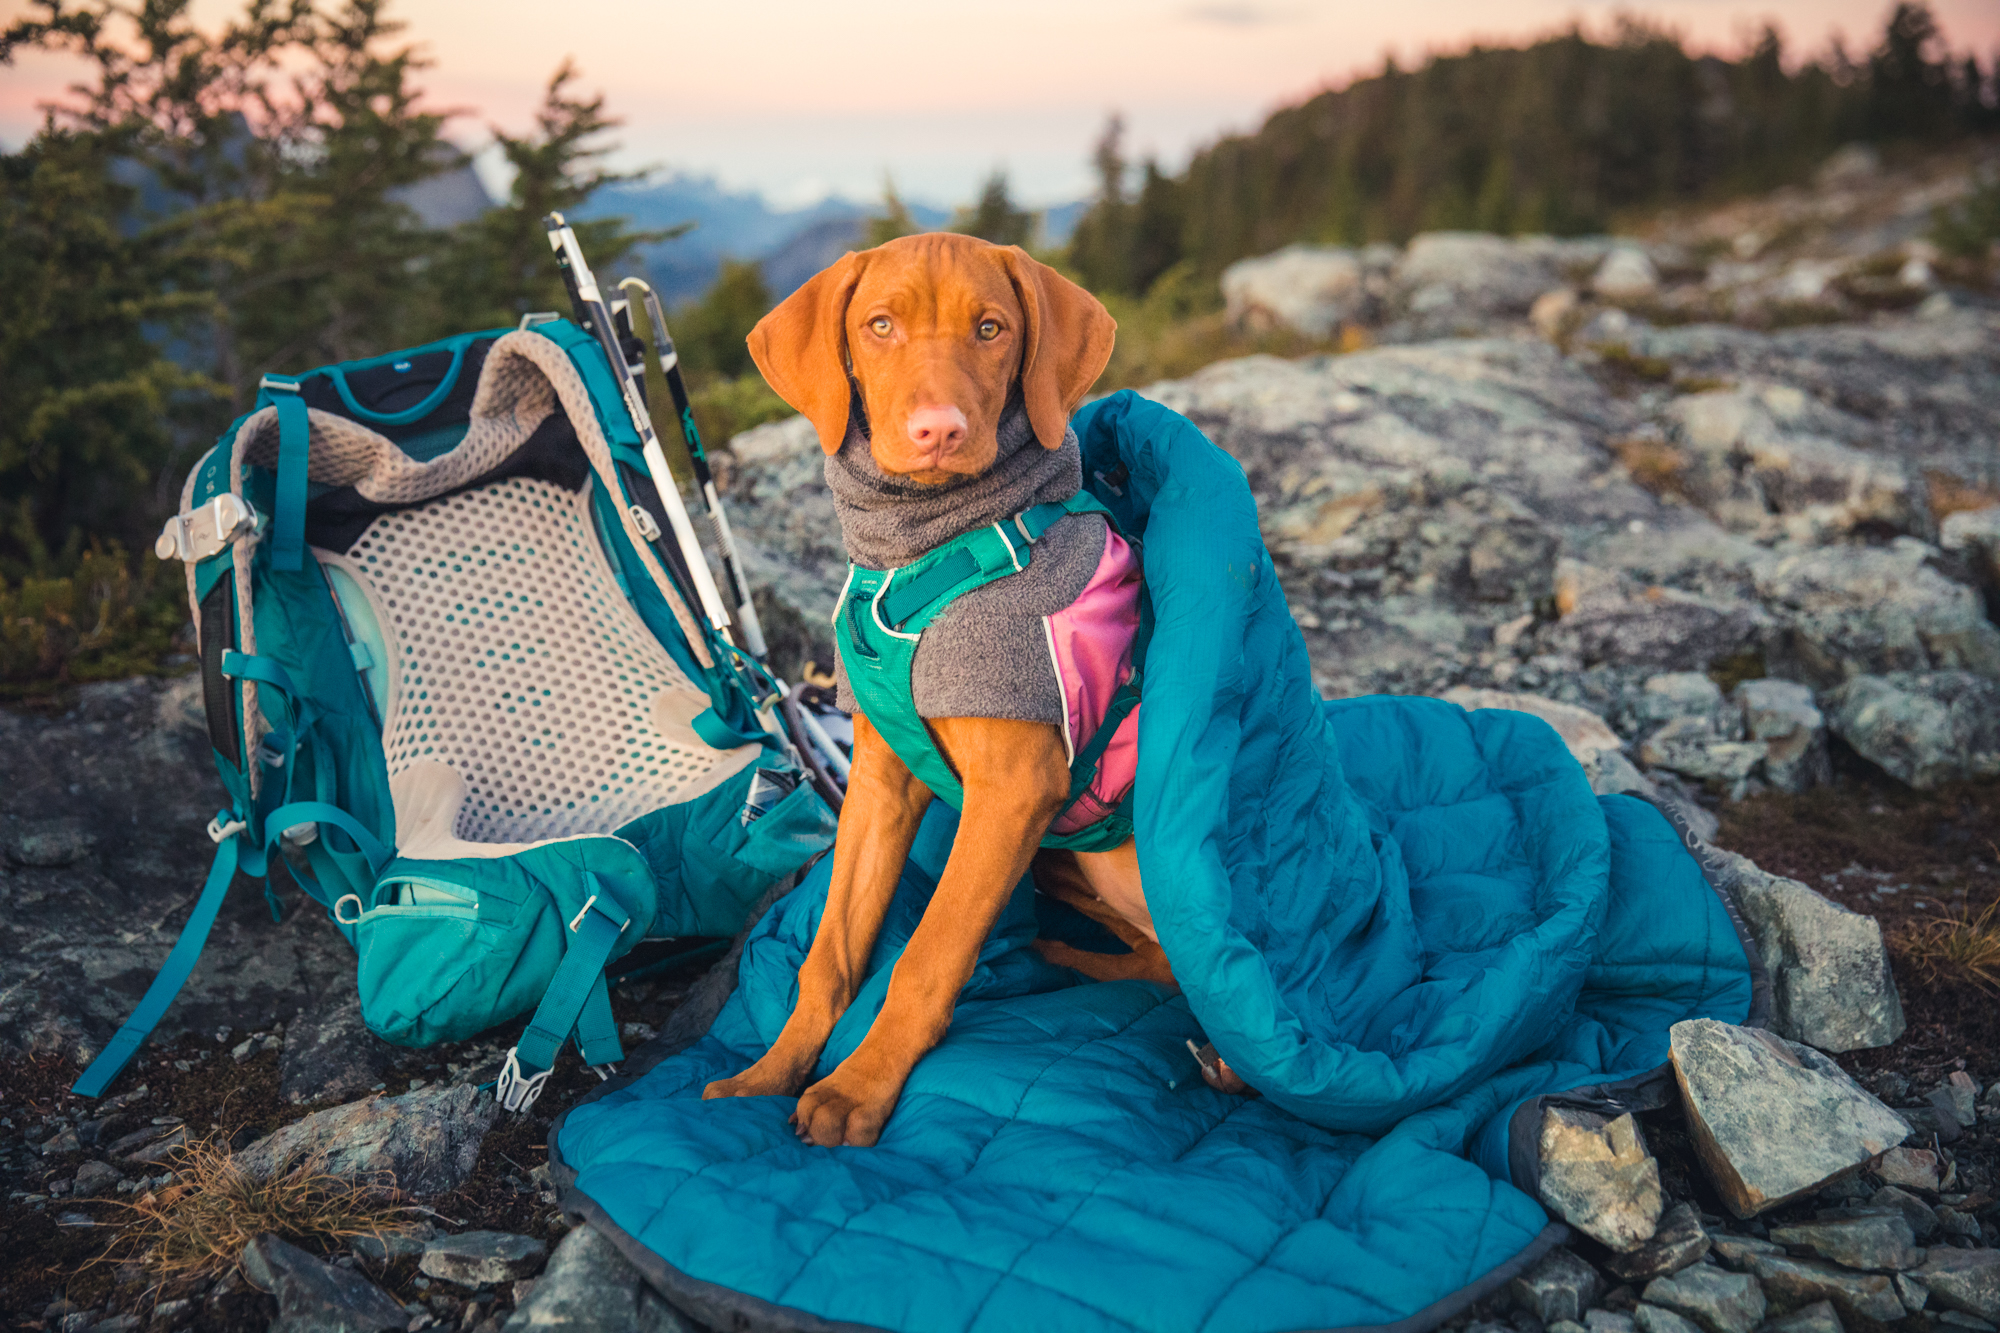
What About Adding Dogs into the Equation?
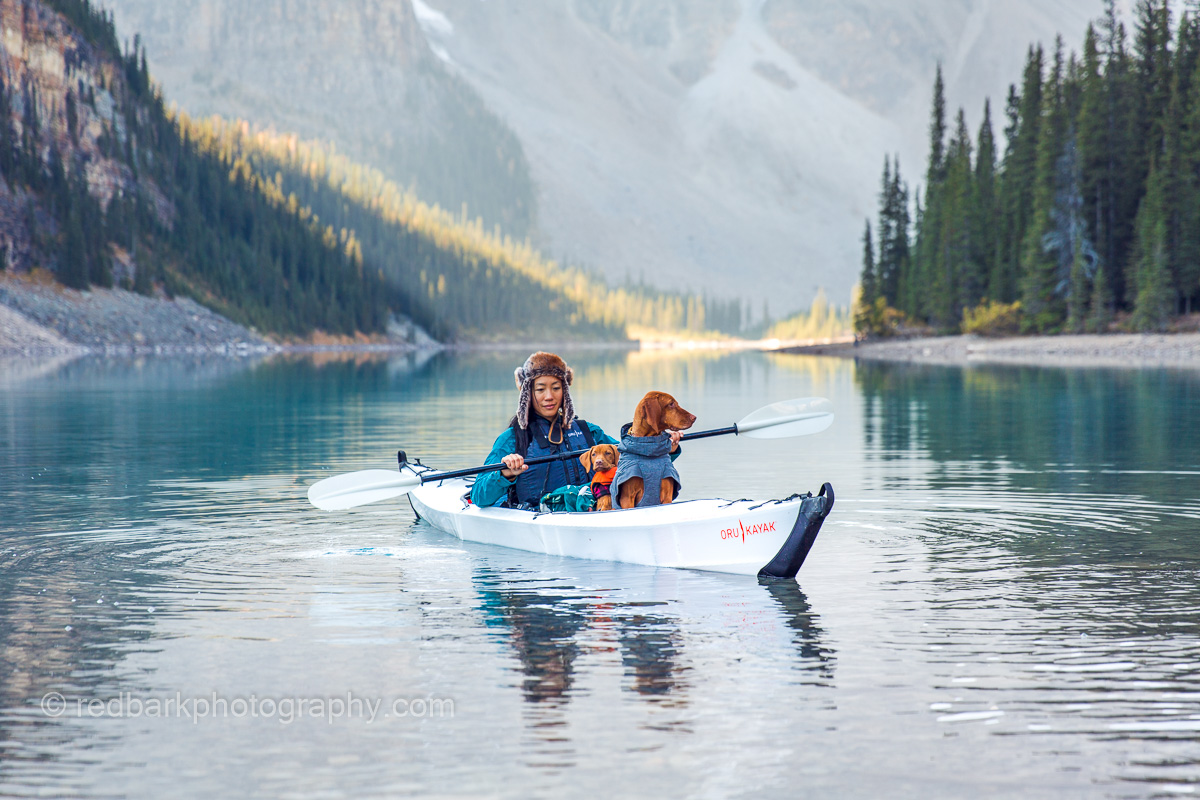
For dog use, the Bay would not be able to fit a dog with a larger 6 foot person. I was able to fit a puppy Bourbon with me in the Bay so a small dog would be fine with a smaller person, but I would not suggest the Bay as the most dog friendly option. On the other hand, the Beach Oru model can fit about 2 Vizslas and maybe 2 smaller dogs in total with a smaller person (300lbs max) but make sure everyone’s friends! With two Vizslas (50lbs each) I can still fit more as well as my camera and a bag.

Comparing Oru with other options on the market
These boats are called sit-in kayaks vs sit-on kayaks. There is usually only the sit-on versions that can you easily load up dogs with enough space so the Beach Kayak is amazing for staying relatively dry and staying a bit more out of the elements than a sit-on kayak (almost like a paddleboard). I believe the two kayaks are lighter than any blow up options I’m aware of, and you don’t need to inflate them making for less packing and unpacking trouble. I find blow up options also have much less space for gear and dogs, and the sit-on kayaks I just don’t feel safe except on very calm water and there’s nowhere to protect my camera if the wind picks up. The sit-in kayaks also encourage dogs to stay “inside” the boat vs dangling a body part out and slipping off and on. In short, with all the boats I’ve seen around, I’ve not seen a better dog option for kayaks.

How to Introduce a Dog to the Kayak

When introducing your dog to the kayak, try it on land first! First, and very importantly, make sure your dog is exercised and tired. Do whatever it takes to make sure your dog is calm, perhaps wait a couple days if this is the first time he’s at the beach and he’s just going crazy. If you can find a sandy area just sit yourself and your pup in the kayak and see how they do. Ask them to load up, ideally with a command they already understand. Whiskey understands “wait” and “up up” and “stay”. The wait is necessary as she now understands boats are her taxis and she will jump on before I’m ready.

Know what you dog needs and responds to and bring anything that might help. Treats and a chew are really helpful, and my own dogs LOVE blankets so I bring 3! Get into the kayak somewhere calm (edge of the beach or a dock) and ask a friend to hold the boat while you dog loads up. Keep it calm and controlled, ask your dog to load and sit and stay. Reward with treats and get yourself comfortable before you ask your dog to lie down. At this point present a chew if necessary and slowly push off.

Treat periodically (more at first and then space it out longed and longer) or let your dog lie down with a chew and just float around paddling gently. Keep the first sessions short and sweet and keep your mood calm (even when rewarding your dog, keep everything calm). Slowly increase your paddling time and see what you can do to make your own dog more comfortable. Try one dog at a time before added multiple!
Accessories

The Oru Kayaks fold up into a box and can be carried with a strap that it comes with. You can also purchase an additional backpack that makes travel much easier (I highly suggest this!). It helps keep sand from your car, and is so much easier to carry around on your back. You can also put the paddle and life jacket and extras in the pockets and walk a very long distance with the kayak. As I mentioned earlier, a foam or extra seat padding makes the kayak much more comfortable. You can use any paddles but I do suggest one that breaks down into 4 sections if you are carrying and storing your kayak in small locations (like a car).

The seat pads are very thin so I would highly suggest a bum pad (like the seat pads for camping or any waterproof foam). For both models, if you are in open water with waves a dry bag is really helpful. If you’re out at night, it’s also really fun to add lights inside the boat (integrate them while you’re building them).
Putting the Beach to the test
So the Beach kayak is suggested calm water, for easy trips, and casual day fun. Well, I took it out in waves (I got pretty wet!) and it was super stable and easy to handle, but not as quick to turn as the Bay. I also took it out on an overnight trip and found it was easy to load on bags and luggage (there’s space behind as well as in front of the seat and very easy to access) and it was pretty decent at tracking straight and dealing with wind and tides. It’s not a fast boat (the Bay is much faster and easy to maneuver on these kinds of trips) but it’s easier to load up than the Bay.

I’ve also landed and taken off from very rocky beaches and beaches covered in barnacles and the hull has been fine (scratched like any plastic but fine). I’ve also found my own limits to carrying up the kayak on a very rugged trail up in the alpine wilderness. Because there was no way to carry both my overnight pack and my kayak, I had to make 3 trips per every one (instead of going from car to site, I had to go from car to site with my pack, then back to car, then back to site with my kayak). The kayak is very bulky and not easy on single track trails that are super steep. It’s also hard to balance jumping from log to log and hard to deal with slippery trails. In short, stick to easy trails that are 1m wide unless you love to struggle!

Last, this kayak looks different. It’s beautiful and everyone loves watching it put together and used. You can light it up at night and it’s the most lovely thing.

Pros and Cons of the Beach Oru Kayak
Pros: Fits in small places, easy to pack up and down, easy for beginners, stable, fits so many dogs, accepts a heavy load, strong, good looks, lighter than blow up kayaks, tracks well, one year warranty, good resale value, beautiful
Downsides: Price, Rudderless, need to learn how to set up at first, Wet deck, Seat needs extra cushion, seat back can come off sometimes.
Please don’t forget to use our discount and support us! WHISKEY with any Oru purchase